The Great Courgette Glut. Season: July and August
Next year, when I’m sowing courgette seeds, will someone please remind me that eight courgette plants are far too many?
The great courgette glut
Someone over on The Bridge Cottage Way Facebook page suggested this week that courgette seeds be sold strictly in packets of three to avoid overplanting. I think they have a point.
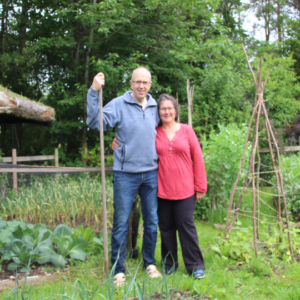
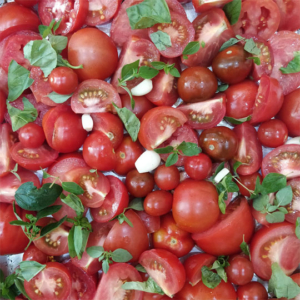
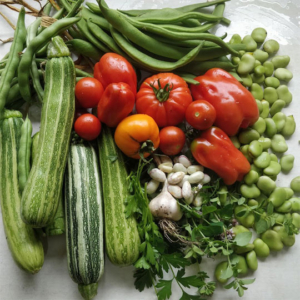
We’ve had a few takers for homegrown courgettes and cucumbers from the table outside Bridge Cottage. We are dripping in them and it’s courgettes with everything at the moment.
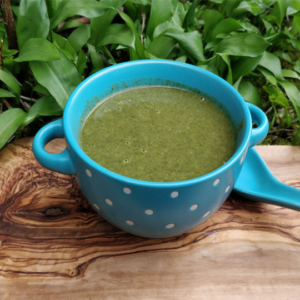
August Harvest Minestone
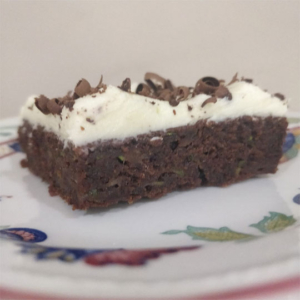
We’re making minestrone and ratatouille for the freezer and adding courgettes to risotto and ragu. This week I make a courgette and chocolate traybake cake, which has gone down a treat. Our youngest son usually shuns courgettes but has gone back to his own house today with a box of courgette and chocolate cake tucked under his arm. Another hit was the courgette and cheddar soda loaf from BBC Good Food.
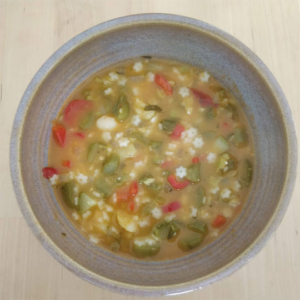
Courgettes are being added to risottos and curries – I love a prawn and courgette curry, and soups are being made to go in the freezer for the winter months. I’ve just shared a photo of courgette, tomato and basil soup bubbling away in the pan over on Twitter (@suereedwrites) and had a request for the recipe, so here it is:
Courgette, Lentil, Tomato and Basil Soup.

Courgette, Tomato, Lentil & Basil Soup
I onion, finely chopped.
1.5 pints veg stock
100 g red lentils
2 courgettes
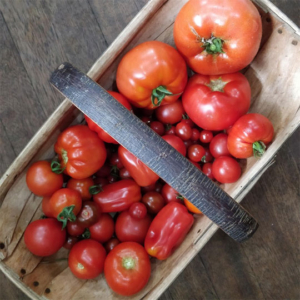
400g tin chopped tomatoes
handful fresh basil
Gently fry the chopped onion in a tablespoon of olive oil until soft. Add veg stock, tomatoes and lentils, bring to a boil and cook for ten minutes. Add courgettes and chopped basil and cook for another 5 minutes. Season with salt and pepper then blitz to a smooth soup.
Easy peasy! My friend Ann has been making potato, courgette, cheddar and fennel seed soup, so I must give that a whirl! Don’t be afraid to experiment with your soups, and do share your successes on our social media channels. I’ve shared the minestrone recipe in a separate post.
From the goddess of the kitchen, Nigella Lawson’s easy courgette pasta sauce is a family hit, and today I’ve made sweet potato and courgette bhajis for lunch. I thought I’d share the recipe for those with you here. It’s really very simple. I’ve added sweet potato, but you could add grated carrot or any other veg, or keep it simple and just use courgette.
Courgette Bhajis
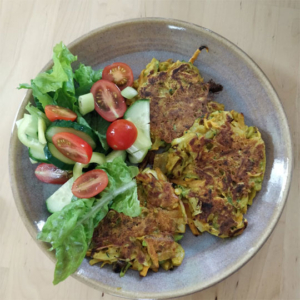
Courgette Bhajis
serves 4
2 medium courgettes (or 1 courgette and half a sweet potato or small carrot)
1 medium onion
2 tsp each cumin, coriander, turmeric
half tsp chilli powder or half finely chopped chilli (optional)
3 tbsp gram flour
sparkling water to mix
4 tbsp vegetable oil
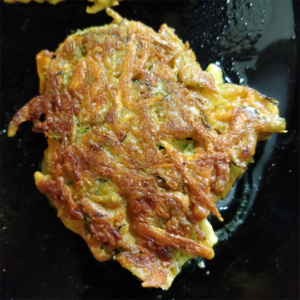
Courgette Bhajis
Grate the veg and chop the onion. Mix well with the spices and season with salt and pepper. mix in the flour and enough sparkling water to bind it all together – about 4 tbsp.
Heat some vegetable oil in a heavy-based frying pan and fry on each side til golden brown. Drain and serve with seasonal salad.
Other links to recipes mentioned:
Courgette and chocolate cake
Nigella Lawson Pasta with Courgettes
Courgette and Cheddar Soda Loaf
As ever, we’d love you to share your thoughts, either by leaving a comment here or on our social media pages, where this article will be shared.
You can find the Bridge Cottage Way on Facebook Twitter and Instagram.
You might enjoy some of the writing and ideas in other sections of this website, as we look towards leading more sustainable lives by growing our own food and creating dishes in line with seasonal eating, or head to our handy ‘Month by Month’ guides to find out what we have been doing here at Bridge Cottage as the months go by:
- Sustainable Living
- The Bridge Cottage Garden
- The Bridge Cottage Kitchen
- Month by Month
- Seasonal Recipes
- Foraging – Food for Free
Many thanks for reading.
With Facebook and Instagram algorithms being fickle friends at times, be sure to get all new posts from The Bridge Cottage Way by signing up for the mailing list here. This will go our four times a year, with the seasons in Spring, Summer, Autumn and Winter. We, of course, will not share your details with third parties, and you have the right to unsubscribe at any time.