Kombucha Brewing
Kombucha Brewing
Kombucha Brewing
I first stumbled across kombucha, that lightly fermented fizzy drink made from sugar and tea, and a culture called a scoby (symbiotic culture of bacteria and yeast) when in November 2019 I gave up booze and was looking for a grown-up drink that wasn’t sweet and sickly and didn’t cost a fortune.
Not that you have to have given up alcohol to enjoy drinking kombucha. Kombucha has health benefits all of its own.
Rather than type out their words and risk being accused of plagiarism, here is a post from those good folk at BBC Good Food, sharing some of the alleged health benefits of drinking kombucha.
Not being prepared to part with large sums of money for shop-bought kombucha, I set about learning to make my own.
I am sure there are far better guides to making your own kombucha that the one I am going to share with you. When I started, I went to The Happy Pear, a jolly couple of lads from Ireland who are both pleasing to the eye and full of sound advice about healthy living. I watched their YouTube video and it told me all I needed to know.
The Happy Pear Kombucha Brewing Video
However, here is how I brew it.
FIRST FERMENT
You will need:
-
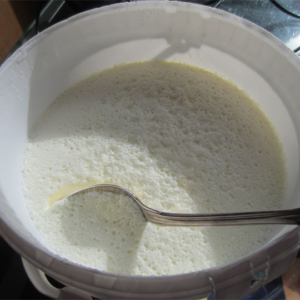
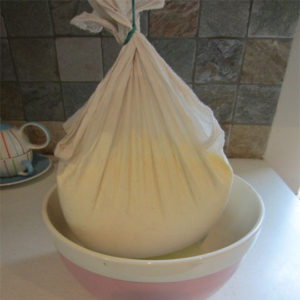
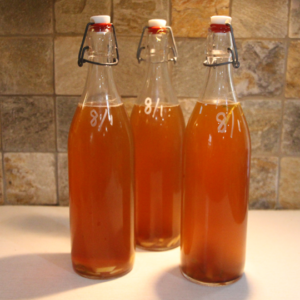
Kombucha Brewing – A scoby floating in the brew,
A Scoby – Symbiotic Culture of Bacteria and Yeast. This is the being that floats or bobs about, doing its magic to turn sweetened tea into kombucha. With each new batch a new baby scoby is formed, so if you know someone already who brews their own kombucha, then see if they have a baby scoby you can adopt.
Failing that, head online – I got mine from Happy Kombucha who also do starter kits, have full instructions and guides and are generous with their advice.
- Tea: You then need cooled, fermented tea. Green tea or black tea – take your pick. I like the freshness of taste that comes with green tea kombucha and like to think it is even healthier. use four tea bags or two tablespoons tea. Use around 2 litres boiled water to make your tea.
If you have a filter jug, kombucha prefers filtered water or spring water – but don’t go buying plastic bottles!! We don’t want any more non disposable plastic in the world.
- Sugar: 150g – 180g granulated sugar.
Add sugar to the tea – don’t worry, the sugar is fermented out!
So, brew up a batch of tea and sugar and leave to cool.
- Wide Necked Jar: Without squeezing the tea bags, drain your cold tea into a wide necked jar. I’m using these wide necked glass jars that I got from a local delicatessen – they were olive jars.
Top us with cooled water.
Another word of warning – scobies don’t like metal – so don’t strain your tea through a metal sieve or stir with a metal spoon. I’ve found a cotton cloth bag bought for straining nuts of making vegan milk to be great. I got mine from Amazon, but other sellers are available I’m sure. I even take off my rings to be extra kind.
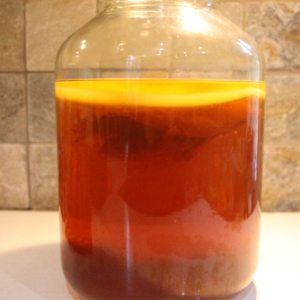
Kombucha Brewing
Then lower your scoby along with around 200ml starter liquid from a previous batch or the liquid your scoby arrived with. Wish him happy brewing, cover and leave in a warmish place for around 10 days.
SECOND FERMENT
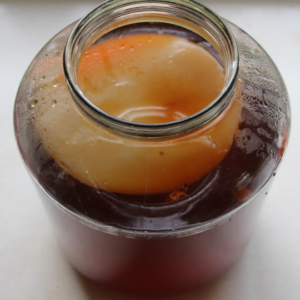
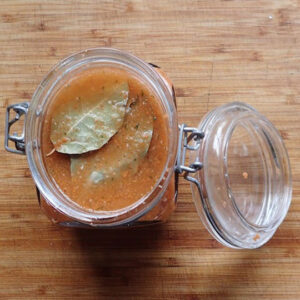
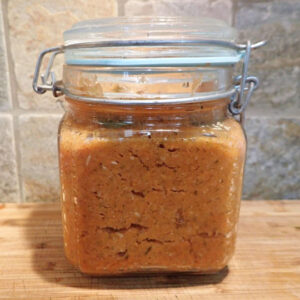
Kombucha Brewing – second ferment
You should by now have a healthy-looking white rubbery crust on top of your kombucha. Congratulations, you have made a kombucha baby! This can be popped into a scoby nursery with some of the fermented liquid, passed on to a friend or put on the compost heap. We have a septic tank here, and I like to think that if kombucha keeps my gut healthy then maybe it will do the same for the septic tank. But how can we flush our babies down the loo? Give it a new home, and encourage your friends to take up kombucha brewing too.
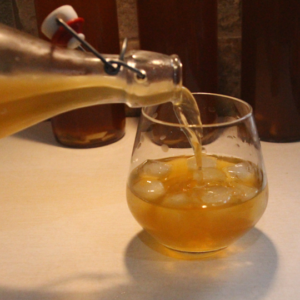
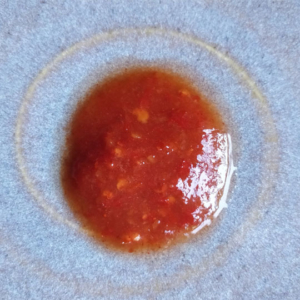
- Pressure Bottles Into sterilised pressure bottles – like the ones Grolsh use for beer – the ones with metal swing tops. Add a tsp of sugar ( I find coconut sugar works well) and any flavouring you want to add. You can leave it plain, but the addition of some natural flavouring can be fun. As we’re huge fans of seasonal eating, we make this depending on what’s available.
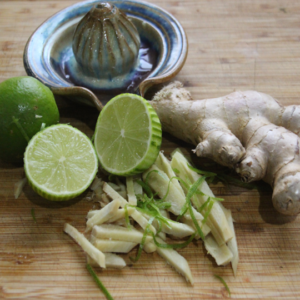
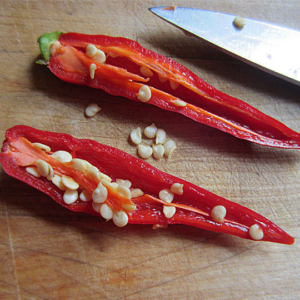
Lime and ginger to flavour kombucha in the second ferment
- Flavouring Strips of ginger or lime/lemon zest work well, apple slices or fresh raspberries or blackberries too. – experiment and let us know on social media what you prefer.Now, siphon your kombucha through the nut bag and into a jug, then pour it into your sterilised bottles, making sure any fluid used for sterilising is rinsed away. Leave for another week.
There are two schools of thought on burping. Some burp and some don’t. It depends on how much fizz you want. If you don’t release the pressure, make sure you open your kombucha over the sink.
Then store it in the fridge! This should arrest the fermenting process but still open with caution.
Enjoy the taste, health benefits & sustainability of your home-brewed kombucha.
Kombucha Brewing – the outtake
Now for the outtake! It’s not easy pouring kombucha with one hand whilst taking a photo with the other. Note to self – use a tripod and camera timer!!
In case you’re wondering if I’m still totally alcohol-free? No. I gave up for just shy of a year, and during that time, reset my relationship with booze, but when Tim sold his accountancy business and retired, I shared a bottle of very decent red wine with him and I do still love a gin and tonic!
For other posts on fermented food and seasonal eating, head back to the kitchen, or why not pop into the garden to see what’s growing or what jobs can be done?
If you’d like to join the gentle rhythm of our four newsletters that come out via Substack, on the Spring and Autumn Equinox and Winter and Summer Solstices, then sign up here:
The Bridge Cottage Way Newsletter on Substack.
To follow Sue’s writing journey and hear about other published work, her debut, The Rewilding of Molly McFLynn and other writing, sign up to Sue Reed Writes on Substack or hunt her out on her social media and website of that name.
Want to leave a comment? We’d love to hear from you


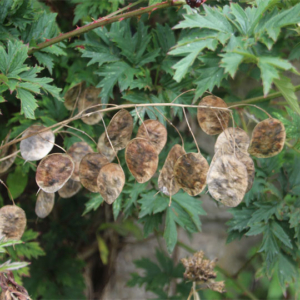

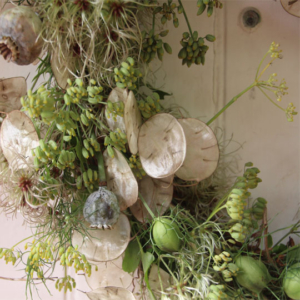
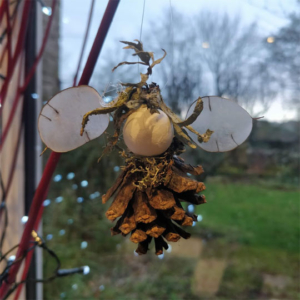 A quick rub, front and back, and the casings disappear. Again, scatter the seeds where you will then bring the silver inside before the winds of autumn shred it. I just love honesty in decorations. I used it last year to make wings for Christmas angels.