How to build a hotbox for propagation, early seed sowing and growing

Hotbox propagation
Making a hotbox may well be the answer if are you chomping at the bit to get the growing season started, It’s still February and last week we had snow. However, the sun started shining this week after a long Winter. We are still in Lockdown due to the pandemic and goodness knows we are longing to get growing again. Last year’s lockdown seemed so much easier to bear, with veggies to grow and gardens to tend, but we must remember it is still Winter!
Hotbox propagation. for early seed sowing and growing
Last year Tim built a hot box for the greenhouse, and it’s brilliant! We can set seeds away and grow then on without fear of the frost getting to them. I know some of you who have seen pictures of this on the Bridge Cottage Way Facebook page have asked how he made it, so here you go.
It’s quite simple. We got the idea and all the help we needed from Jungle Seeds.
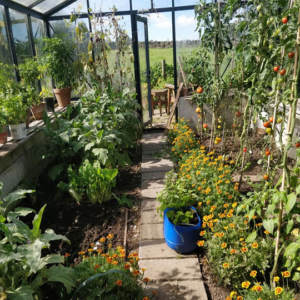
You will need a greenhouse or cold frame and a source of electricity. We have run an outdoor extension lead from the garage into the greenhouse. We have taken care to cover any electrical parts with a bucket so avoid accidents when watering!
The heat comes from Bio Green Soil Warming cables. available from Jungle Seeds.
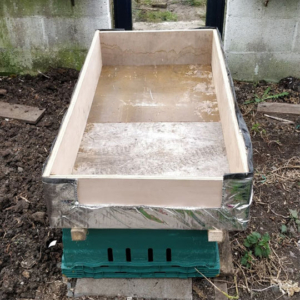
Building a hotbox for early seed sowing a propagation
We started by building a wooden box. The bottom was taken from an old dining room table, and the sides, off-cuts of plywood. You may want to build something smaller, a tray for example. In this first picture, you can see it has been covered on the outside by insulation. We used this insulation as we had it hanging around after building the sauna. You might want to use polystyrene, or Kingspan. Use what you have!
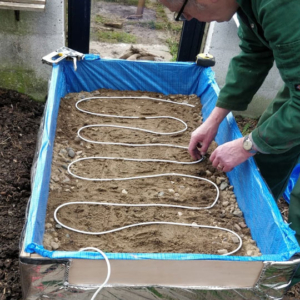
Building a hotbox for early seed sowing and propagation
Next, add a layer of sand, and then lay the cables on top of that. We got the Bio Green Warming Cables from Jungle Seeds, and you’ll see that they give basic instructions too for building a hotbox.
The cable is normally laid in runs 3″ to 4″ apart. This layout will allow you to raise the soil temperature by 11-13 C, above the greenhouse ambient. Higher temperatures can be achieved by laying the cable runs as close together as 5cm. In this case, a thermostat should be used to precisely control the soil temperature to avoid overheating.
After laying the cables, cover again with another layer of sand. Water all this well. It needs to be kept moist to give good heat transference.
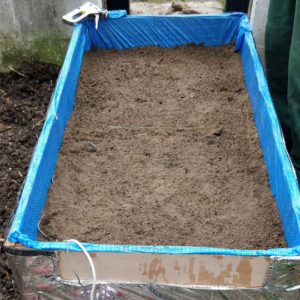
building a hot box for propagation, early seed sowing and growing
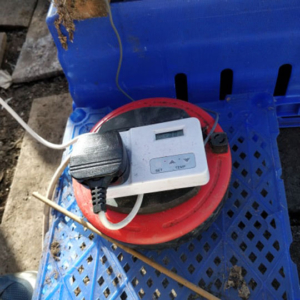
building a hot box for propagation, early seed sowing and growing
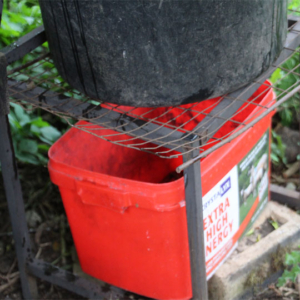
A top tip is to cover the plug socket and thermostat with an upturned bucket. This prevents any water from getting in the electrics when watering the greenhouse!
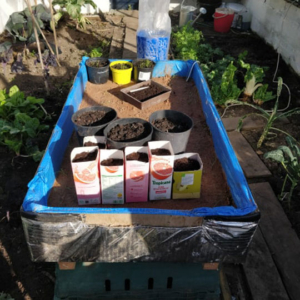
At night, a layer of bubble wrap can go over the top to tuck your baby plants in.
building a hot box for propagation, early seed sowing and growing
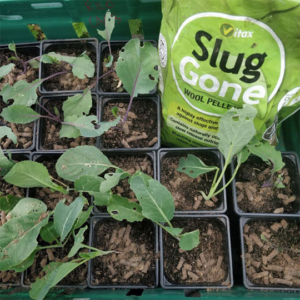
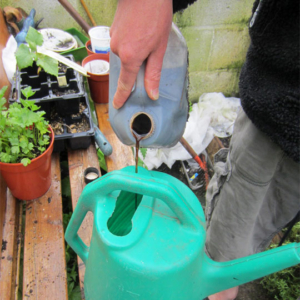
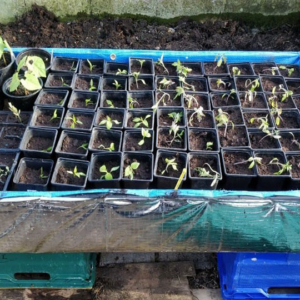
That’s all there is to it! We’ve set leeks, board beans, chillies, lettuce and tomatoes away already and they are growing well in the hot box. You can see I’ve used sawn-off juice bottles as seed pots – waste not, want not!
Do get in touch if you have any questions!
Wishing you a very happy growing season.
As ever, we’d love you to share your thoughts, either by leaving a comment here or on our social media pages, where this article will be shared.
You can find the Bridge Cottage Way on Facebook Twitter and Instagram.
You might enjoy some of the writing and ideas in other sections of this website, as we look towards leading more sustainable lives by growing our own food and creating dishes in line with seasonal eating, or head to our handy ‘Month by Month’ guides to find out what we have been doing here at Bridge Cottage as the months go by:
- Sustainable Living
- The Bridge Cottage Garden
- The Bridge Cottage Kitchen
- Month by Month
- Seasonal Recipes
- Foraging – Food for Free
Many thanks for reading.
With Facebook and Instagram algorithms being fickle friends at times, be sure to get all new posts from The Bridge Cottage Way by signing up for the mailing list here. This will go our four times a year, with the seasons in Spring, Summer, Autumn and Winter. We, of course, will not share your details with third parties, and you have the right to unsubscribe at any time.
